Slideshow & Galleries
Creating Slideshows or Image Galleries is a multi step process.
- Each slide or gallery image is created individually using a common tag to group the slides or images together into a slideshow or gallery.
- Then the slideshow is placed on a page using the following token code replacing the word tag with whatever tag you used in creating the slide.
[view:ku_slideshow_gallery=slideshow_fullwidth=tag] - A gallery is placed on a page using this token cod replacing the word tag with whatever tag you used in creating the gallery image.
[view:ku_slideshow_gallery=gallery=tag]
BEST PRACTICE: Your slideshow should contain between 3 to 5 images because typically site viewers don't watch the slideshow to completion and do not see all of the slides.
PHOTO SIZES:
- 860 pixels wide and a consistent depth — page with a sidebar and no left navigation
- 1180 pixels wide and a consistent depth — page that spans the full with of the page
- 660 pixels wide with and a consistent depth — page with a sidebar and left navigation
IMPORTANT: Slides need to be the same depth to prevent the page from moving up and down as the slideshow cycles.
Slideshow Example:


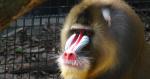
Gallery Example:
 |
 X 
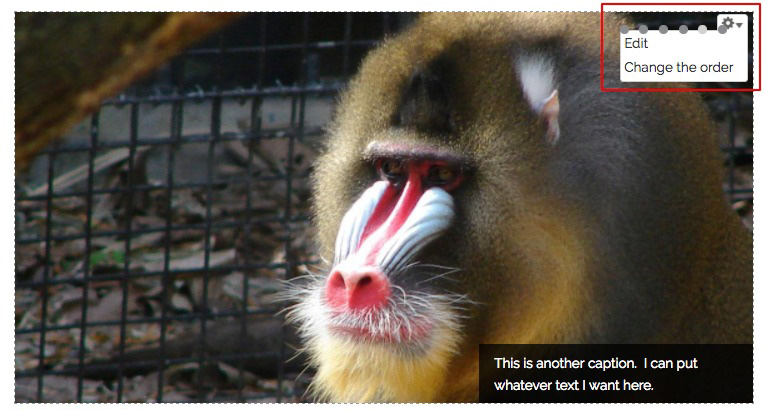
This is another caption. I have selected "bottom of slide, full width, hover over image". |
 X 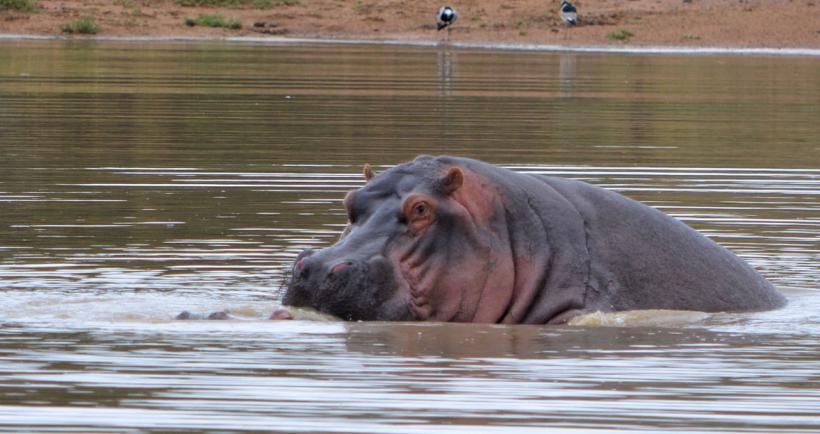
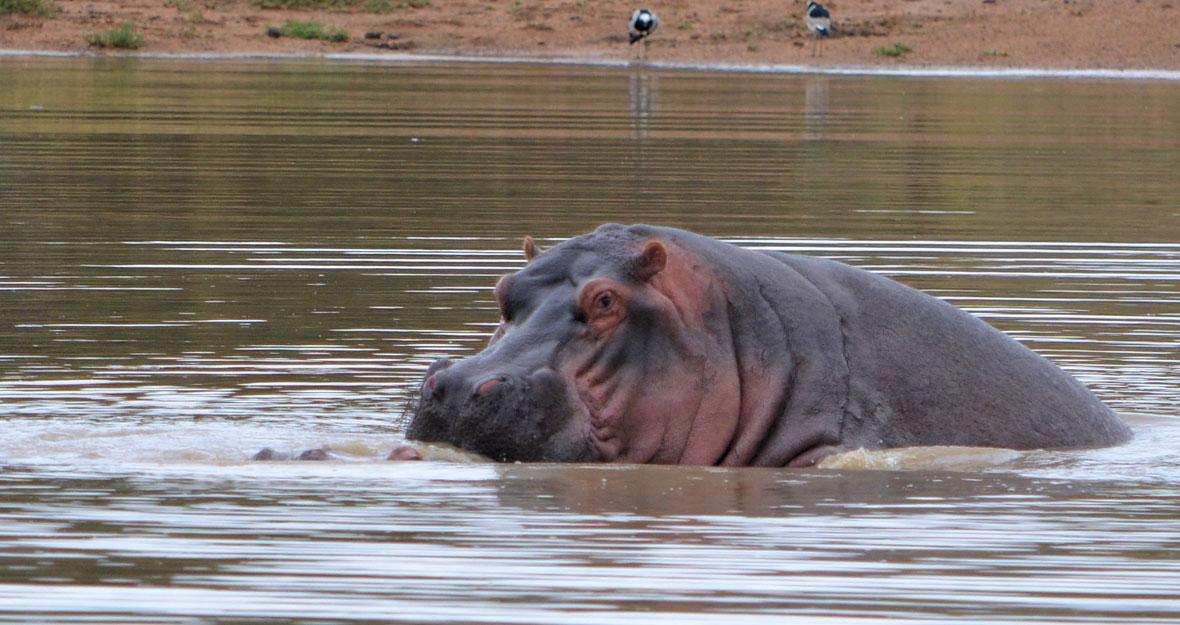
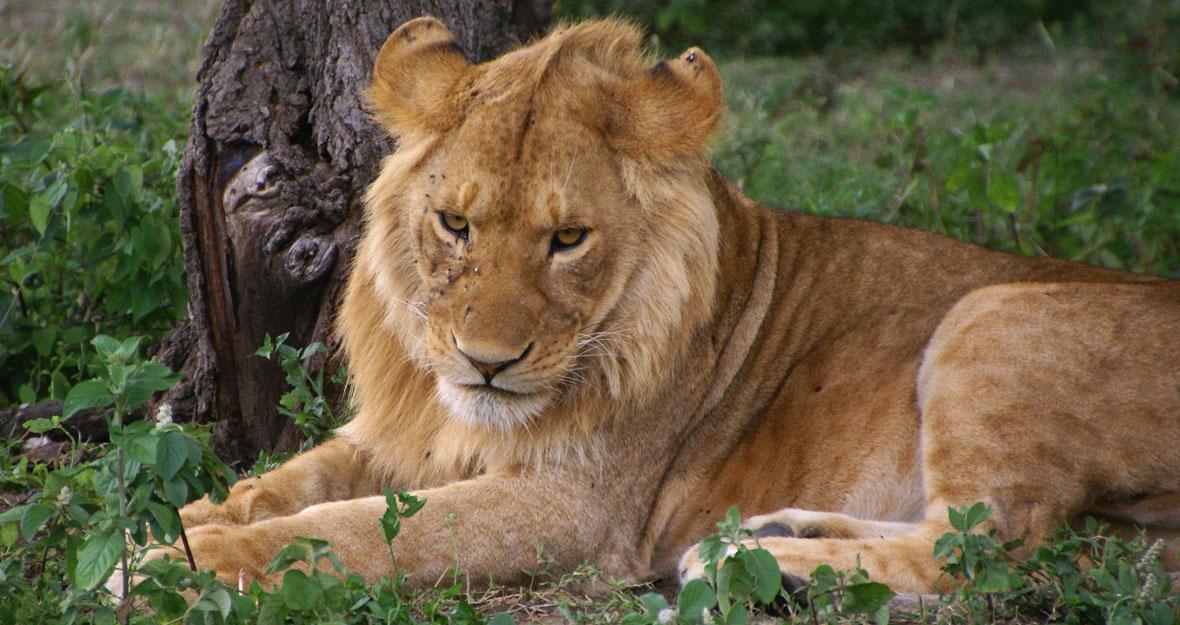
This is another caption. I can put whatever text I want here. |
 X 
This is another caption. I can put whatever text I want here. |
 X 
This is another caption. I can put whatever text I want here. |
 X 
This is another caption. I can put whatever text I want here. |

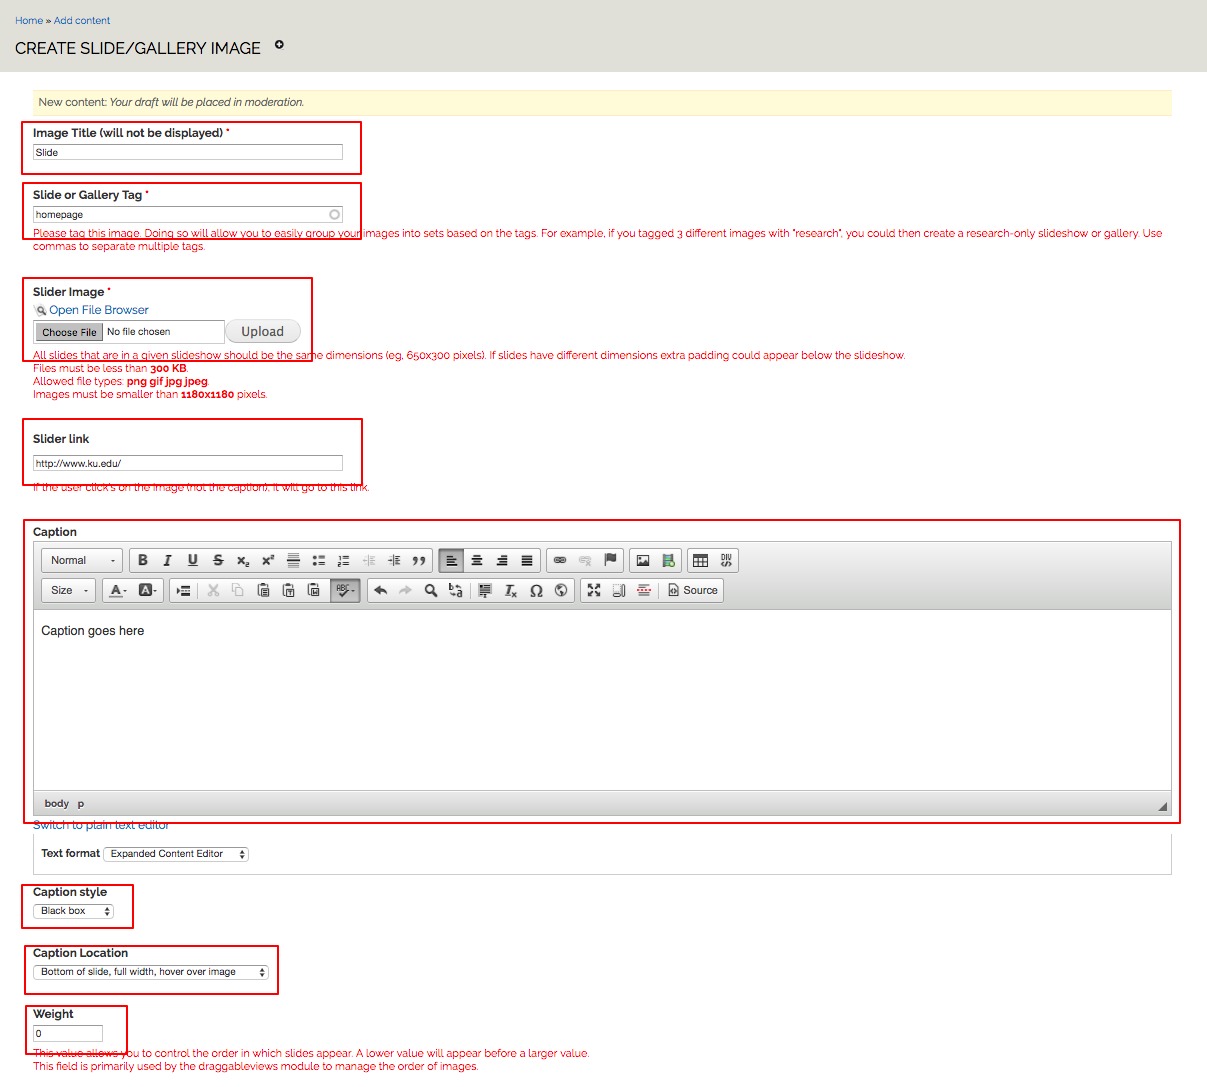
To create a slide or gallery image:
- Click Add content in the gray shortcut bar at the top of the admin console. Select Slide/Gallery Image.
- Fill in the fields: ( * Required Fields )
- Image Title* — Used to keep track of the image internally.
- Slide or Gallery Tag * — Used in the token code to group your images into a slideshow or gallery. For example, type "homepage" to create an image that you want to show on a homepage slides. You can also include the image in multiple slideshows/galleries by adding multiple tags separated by commas.
- Slider Image * — Choose the image you are wanting to use.
See PHOTO SIZES above for recommended image sizes.
- Slider Link — If you would like the image to be clickable, enter the URL you would like to go to.
- Caption — If you would like the image to have a caption, enter the caption text. You can include links if you'd like the caption to be linked to a URL.
- Caption Style — Choose a background style for your caption.
- Caption Location — Choose where on the image you would like the caption to be displayed.
NOTE: If you choose the option to have the caption beneath the slide you should use this style of all of the slides in your slideshow because if you don't the slides will move up and down upon cycling.
- Weight — This can be used to adjust the order in which images appear, lower values will appear before larger values.
See instructions below to reorder your slides more easily.
- Do not provide a menu link
- Publish or Save the image
To add additional images to your slideshow or gallery, repeat the above steps.
*If the slideshow is not showing up correctly, try clearing your site cache.
Adding a slideshow or gallery to a page
Slideshows can be added to any page on your site. To add a slideshow to a page, type the below code into a block or content area. Replace the tag after the equals sign with the word you used when creating the individual slide to pull the slides together into the slideshow.
[view:ku_slideshow_gallery=slideshow_fullwidth=tag]
A gallery is placed on a page using this code.
[view:ku_slideshow_gallery=gallery=homepage]
Changing the Slide Order
To change the slide order:
- Hover over the upper right corner of the slide until a gear icon appears with a drop-down menu.
- Click the arrow so the menu will appear.
- Select Change the order.
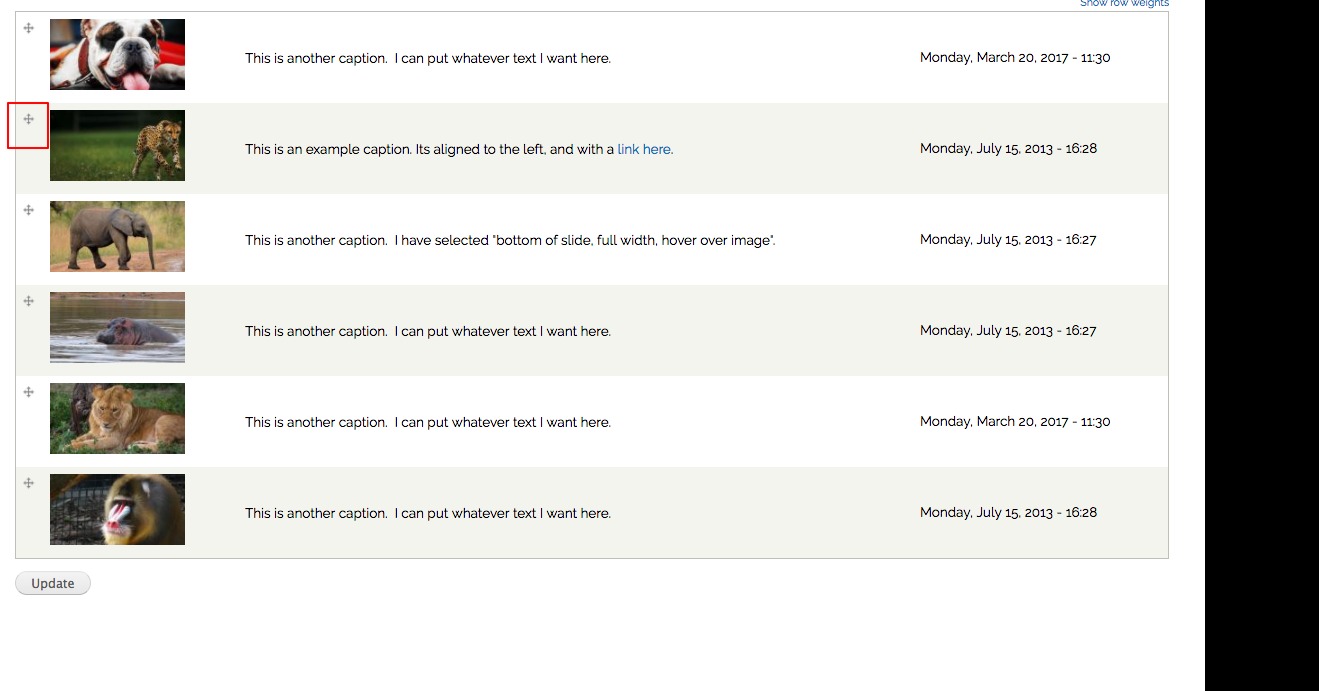
- Click and drag the handle to reorder the slides.
- Click Save.