Tabs
Tabs within a page are a way to consolidate information in a compact way. They are a way to present chunked information that is related.
There are two tab styles available. One with square corners and the other with rounded corners.
NOTE: The number of tabs and the length of the tab names should not exceed the horizontal space. Be sure to view your page at various widths to be sure the tabs don't wrap on smaller displays.
BEST PRACTICE: Logically chunk the content behind the tabs so users can easily predict what they'll find when they select a given tab. Use tabs only when users don't need to see content from multiple tabs simultaneously. If people do need to compare the info behind different tabs, then having to switch back and forth puts an added burden on their short-term memory, and lowers usability compared to a design that puts everything on one big page.
Example tabs with square corners:
Example tabs with rounded corners:
How to create tabs:
Implementing tabs within a page is fairly straightforward, but it does require some HTML coding.
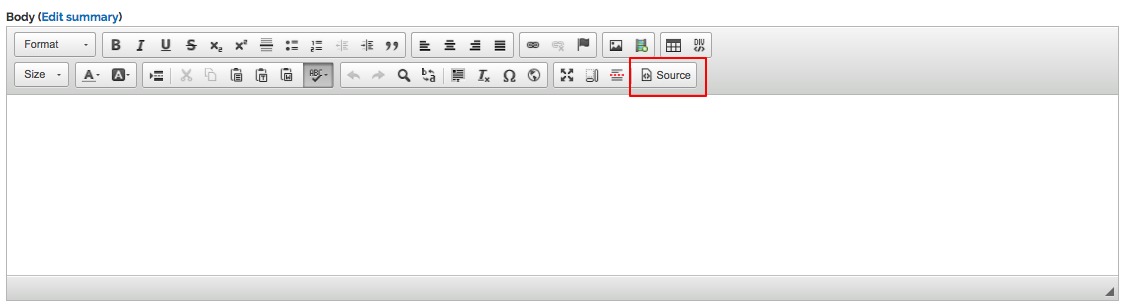
- In the body area, switch to source view:
- Create the shell for your tabbed content box:
<div class="tabbox">

	    <ul class="nav">

	   </ul>

	   <div class="content clearfix">

	   </div>

</div> - For each tab, create a navigation item and tab container in the content box. The tabs should contain a link with the href="#", so that JavaScript can handle the tab switching.
NOTE: the navigation tabs and tab content areas should be in the same order, meaning the first tab corresponds to the first content block, the second to the second, etc.
<div class="tabbox">Tab 1
<ul class="nav">
<li id="tab_tab1name"><a href="#tab1name"></a></li>
<li id="tab_tab2name"><a href="#tab2name">Tab 2</a></li>
<li id="tab_tab3name"><a href="#tab3name">Tab 3</a></li>
</ul>

	   <div class="content">
<div class="tab">Tab 1 content here</div>
<div class="tab">Tab 2 content here</div>
<div class="tab">Tab 3 content here</div>
</div>
</div> - Finally, set the tab you wish to be the active tab by adding the active class to both the list item as well as the tab content area:
<div class="tabbox">Tab 1
<ul class="nav">
<li id="tab_tab1name" class="active"><a href="#tab1name"></a></li>Tab 2
<li id="tab_tab2name"><a href="#tab2name"></a></li>Tab 3
<li id="tab_tab3name"><a href="#tab3name"></a></li>Tab 1 content here
</ul>
<div class="content">
<div class="tab active"></div>Tab 2 content here
<div class="tab"></div>Tab 3 content here
<div class="tab"></div>
</div>
</div
Tab box with rounded tabs:
If you want the tabs to have rounded corners, add the tabbox-rounded class to the HTML.
<div class="tabbox tabbox-rounded"> <ul class="nav"> <li class="active" id="tab_tab1name"><a href="#tab1name">Tab 1</a></li> <li id="tab_tab2name"><a href="#tab2name">Tab 2</a></li> <li id="tab_tab3name"><a href="#tab3name">Tab 3</a></li> </ul> <div class="content"> <div class="tab active">Tab 1 content here</div> <div class="tab">Tab 2 content here</div> <div class="tab">Tab 3 content here</div> </div> </div>
Linking directly to a tab
Once the tabs are created, you can link directly to a tab by using an "anchor link". For example: If you have 3 tabs with the ids "tab_faculty", "tab_staff", "tab_student", you could link directly to the staff tab by linking to #staff.
IMPORTANT: Tabs MUST have an id of "tab_somename" or linking will not work.
On this page we have three tabs defined, ids of "tab_tab1name", "tab_tab2name", and "tab_tab3name". In order for the linking to work the ids need to be prefixed with tab_ otherwise the tab won't be found. To link to each of them directly use:
- /tabs#tab1name
- /tabs#tab2name
- /tabs#tab3name
Linking to a tab from a tab
To link to tab from inside of another tab you need to create a link. There are 2 ways to do this.
- The first option is to reference the # name in the href:
<a href="#tab_tab1name">link name</a> - The second options is to link to the page and append the # name to the link:
<a href="/tabs#tab1name">link name</a>
Example Tab box containing links:
<div class="tabbox">Tab 1
<ul class="nav">
<li class="active" id="tab_tab1name2"><a href="#tab1name2"></a></li>Tab 2
<li id="tab_tab2name2"><a href="#tab2name2"></a></li>Tab 3
<li id="tab_tab3name2"><a href="#tab3name2"></a></li>
</ul>
<div class="content">Tab 1 content here
<div class="tab active"></div>
<div class="tab">Tab 2 content here</div>Tab 3 content here
<div class="tab"><ul>tab2 option 1 href: #tab_tab2name2
<li><a href="#tab_tab2name2"></a></li>tab2 option 2 href: /tabbed-navigation#tab2name2
<li><a href="/tabs#tab2name2"></a></li>
</li>
</ul>
</div>

	   </div>

	</div>