Webforms
Webforms are web pages that contain form elements used to collect data from the visitors to your site.
There are a variety of field types available for the form.
NOTE:The Webform content type is unavailable to Contributors.
Please note that the CMS webforms are not for sensitive data. For example, you should not use the CMS webform feature to collect a KU Student ID, Social Security number or Credit Card number.
Please contact KU web services if you need to collect sensitive data. Sensitive data refers to all information listed as level 1 of the Data Classification Policy.
To create a Webform:
- Click Add content in the gray shortcut bar at the top of the admin console. Select Webform.
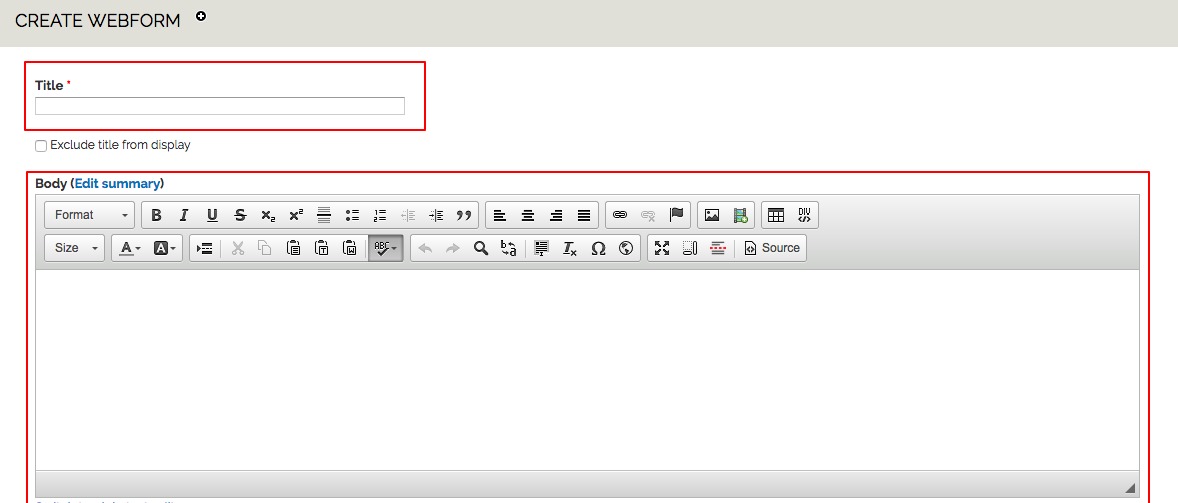
- Enter a Title.
- In the Body field, enter any general text for your Webform. For example, enter a description of the type of data you are trying to collect. Or, you could provide instructions for the Webform.
- Save the webform. Once you save you will be taken to a tab called Webform where you create the fields for your form. These fields are called Components.
- Next create the individual data entry fields. Type the component name.
NOTE: The component name becomes the label for your data entry field.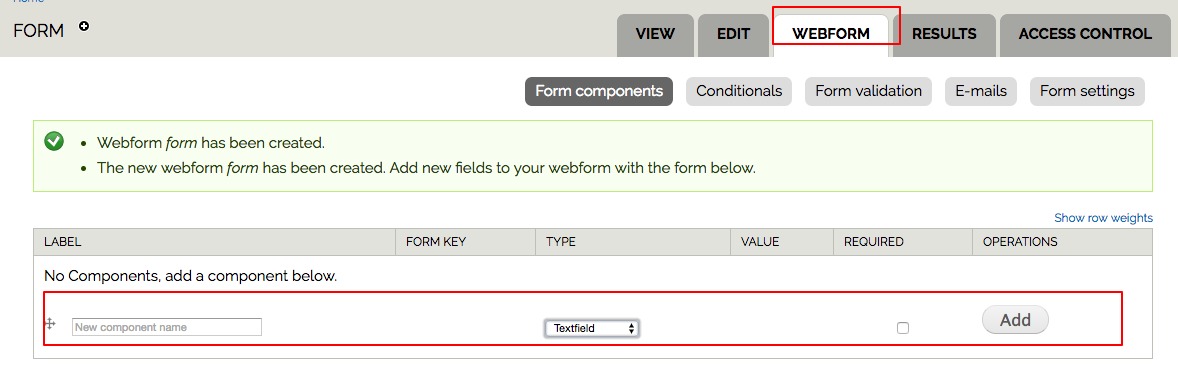
The Type field pop-up menu allows you to define the field type. - Click the Required Checkbox if want your field to be Mandatory and then click the Add button to create the Component.
- Next, you will be on the Edit Component page. The Label field is automatically populated with the Component name. The Field Key is the unique name of the field and becomes the column heading if you export the data from the CMS.
OPTION: If you would like a hint to appear within the field to aid the user in knowing what to enter add a Default value.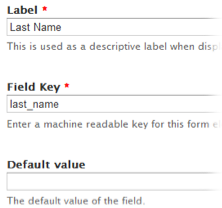
You may also use Token Values for a particular components. Token values allow for the collection of information of system generated values. Examples include Date/Time, the Node (page) name or even the visitor’s IP address.
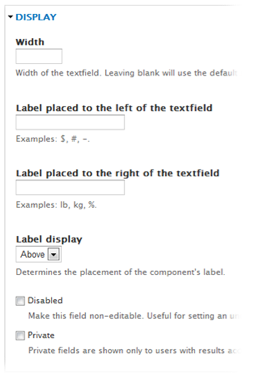
Validation allows specific control over the data entry process of a particular component. You can make a page Mandatory, you can ensure the value entered is a Unique value which has never been entered into the form before as well as define the Maxlength of the data entered into the component. - The Display options of the component allow you to fine-tune the settings of the field in your Webform. For example, you have the option to set the Width of the component. You may also set Labels to both the left and the right of the component field.
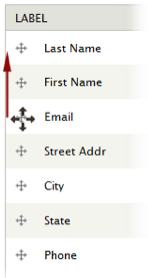
To change the order of your field components in your Webform. Hover over the four-way arrow and click-and-drag the component to the intended position in the form.
Viewing a Webform
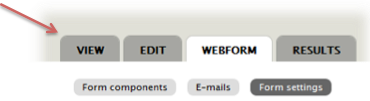
You may preview and test your Webform using the View tab in the upper-right corner of the page.
You may also use the Edit tab to make changes to the components on your Webform.
NOTE: Do not include a webform in another page on the site using the block include or page include methods. Webforms have issues with caching, so they must be created as their own node/page.
Emails & Form Settings
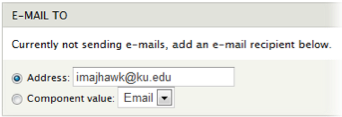
You can have the information from a Webform emailed to specific recipients. To add an email address click on the E-mails button in the upper-right of the Webform creation page.
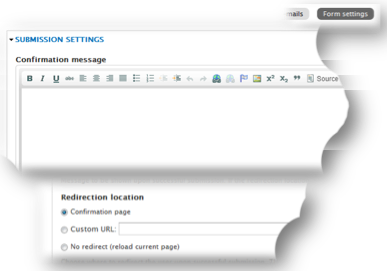
You may also create a custom message for confirmation of a Webform submission. Another option allows for web page redirection upon form submission. Both of these features are found by clicking on the Form Settings button.
View Webform Data.
There are a variety of options for view data submitted via Webform. You can view in Table form when logged into the CMS or you can download the results and analyze in another application like MS Excel.
- Click the Results tab in the upper-right of the screen.
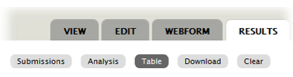
- On the Results tab you are presented with five options to choose:
Submissions – provides a brief summary of each instance of a form submission
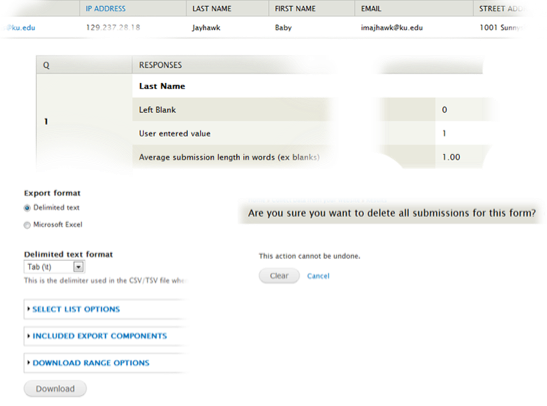
Analysis – gives a detailed view of each component answer. Including the number of blanks and average of words submitted
Table – lists the data in the browser in standard table format.
Download – multiple download options. Download directly into Excel format or into many other text delimited formats.
Clear – Clear all form results. Take caution, this action cannot be undone.