Advanced content page
The Advanced content page is more advanced (hence the name) than the General content page.
An Advanced content page offers:
- pre-built layout controls to organize and format content easier
- content tailored to a user based on his/her audience type, geolocation, and browser viewport size
- per-page slideshow and sidebar block creation
The Advanced content page editor page has three main areas: the Main content area, Featured Images / Slideshow, and the Unit/dept sidebar; each of these can be modified via their settings tabs. The 'Layout preview' offers a general preview of what the page looks like under certain situations.
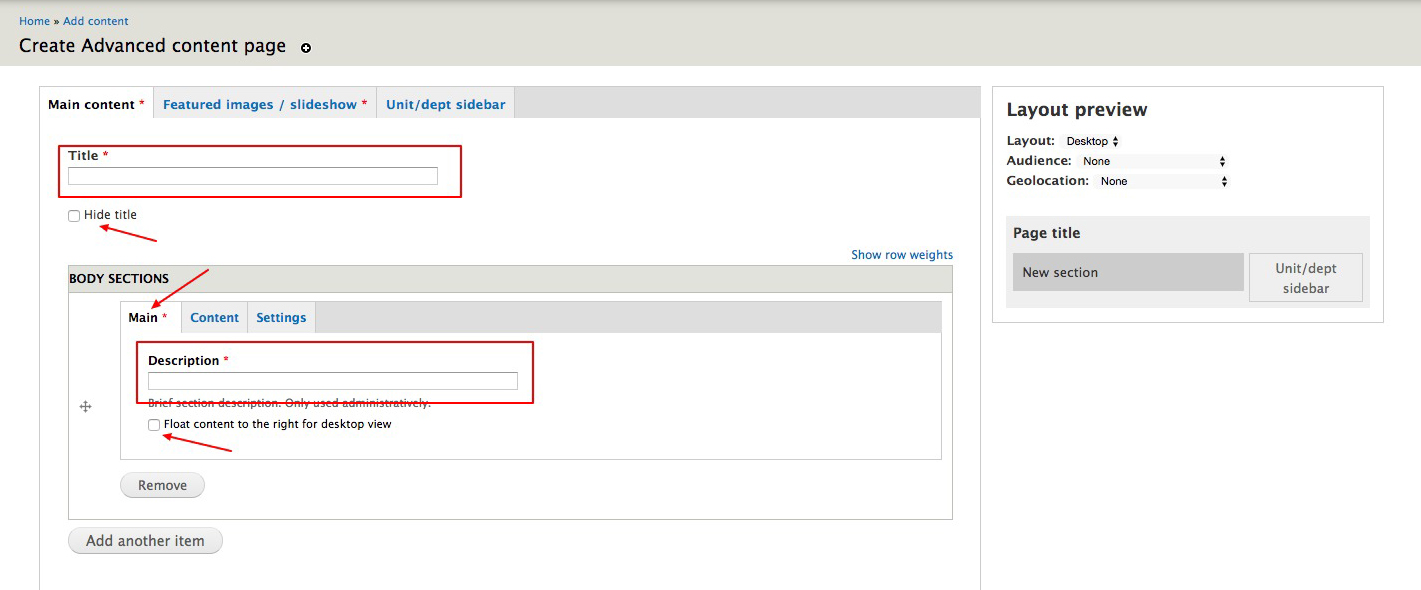
Main content
The Title field is required, although it can be hidden by checking the Hide title checkbox below it.
Main content of the page can be modified via 'Body sections.' An unlimited number of body sections can be added to the page, and rearranged as necessary. Each section has three tabs: Main, Content, and Settings.
Main tab
The Description field is required to help find information easier. Check the checkbox below the Description field to float this section to the right for desktop view (mobile view will regain full width; see: Layout Preview).
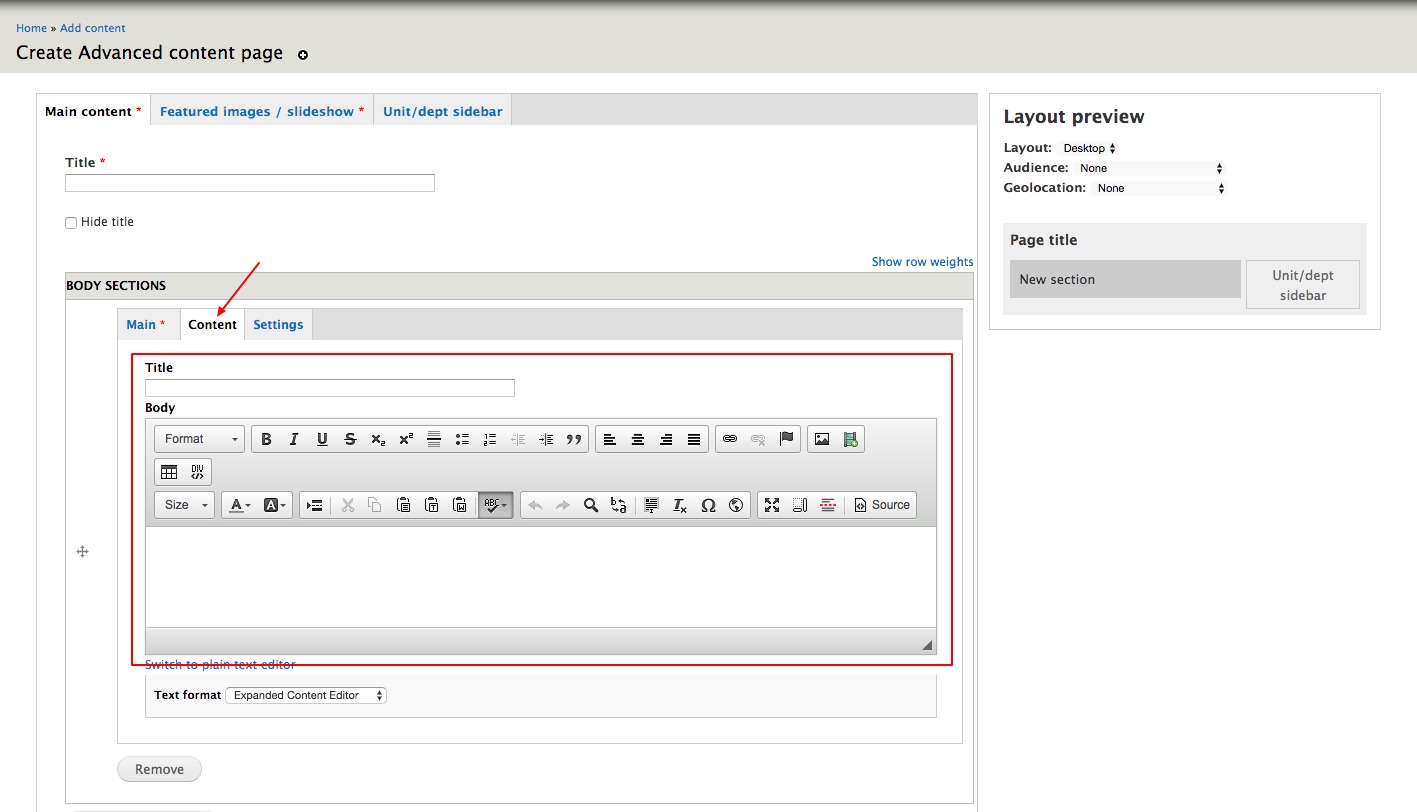
Content tab
The Title field adds a pre-styled title to the Body section. The Body field can be used like any other text field and accepts Tokens.
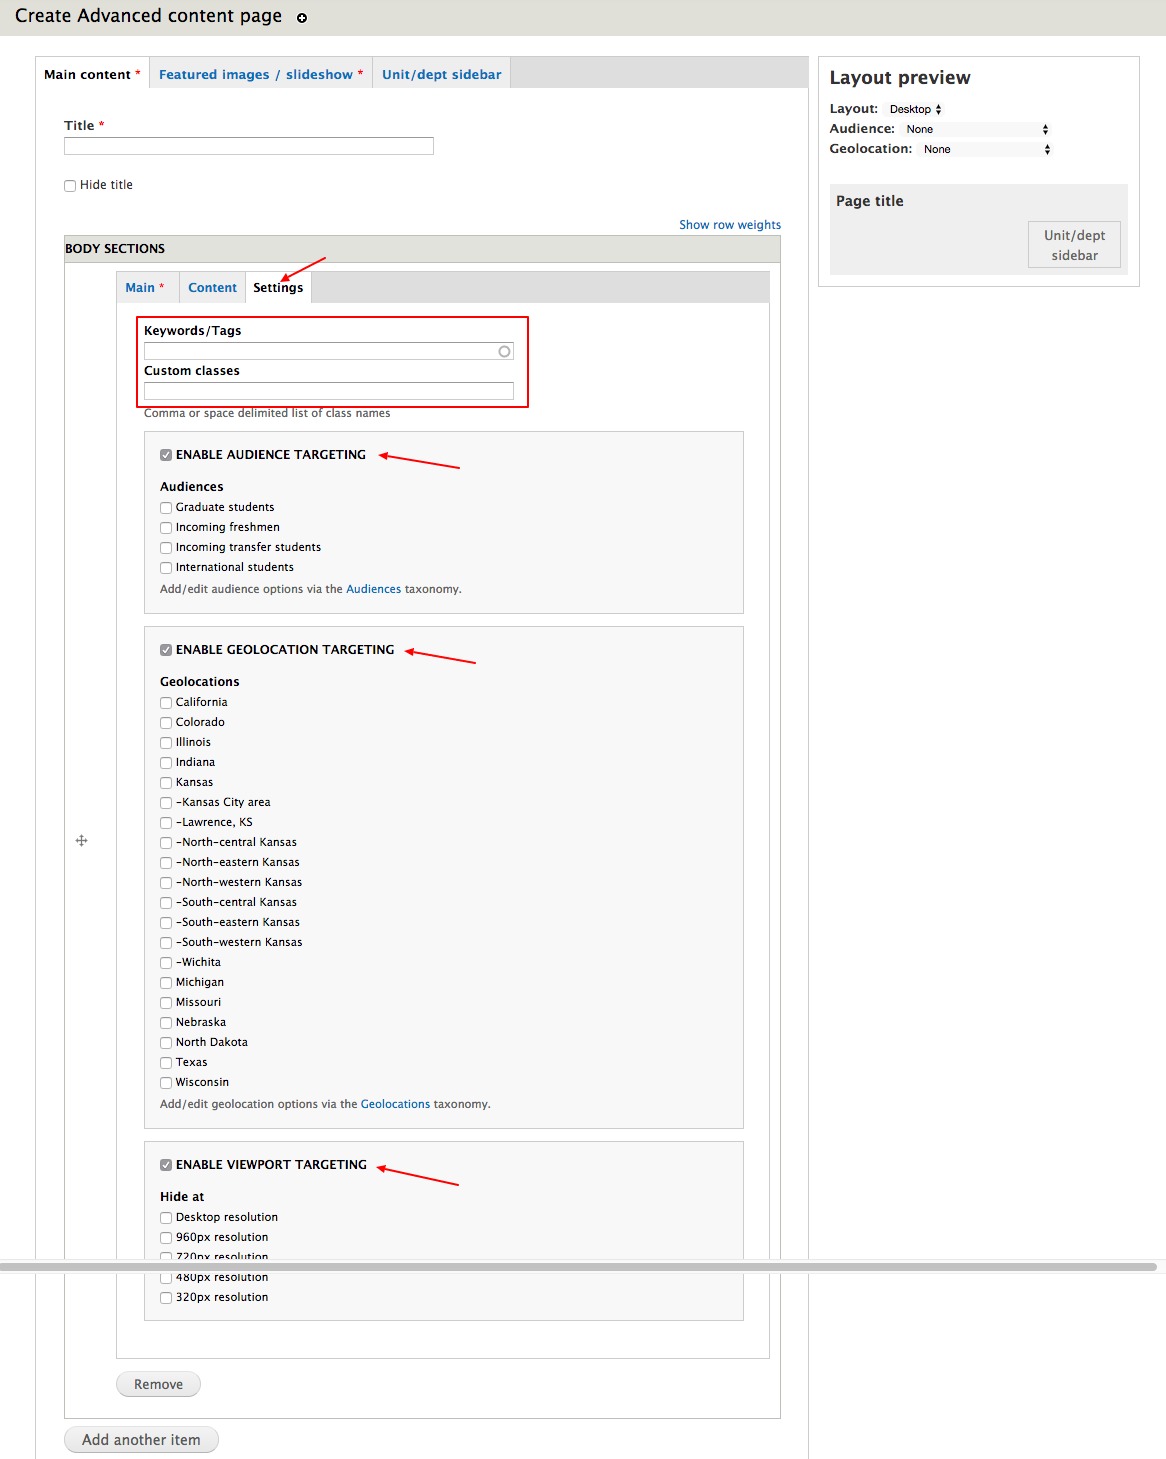
Settings tab
Each section of the Settings can be Tagged with associated keywords, good for cataloging content. CSS classes can be added to the section's html via the Custom classes field; best used for when multiple sections need to be styled a certain way. Each section offers user targeting, see 'Targeting' for more information.
NOTE: By default, a rendered version of each section is cached in the database, but it can be disabled via the disable cache checkbox. In most cases, this shouldn't be used.
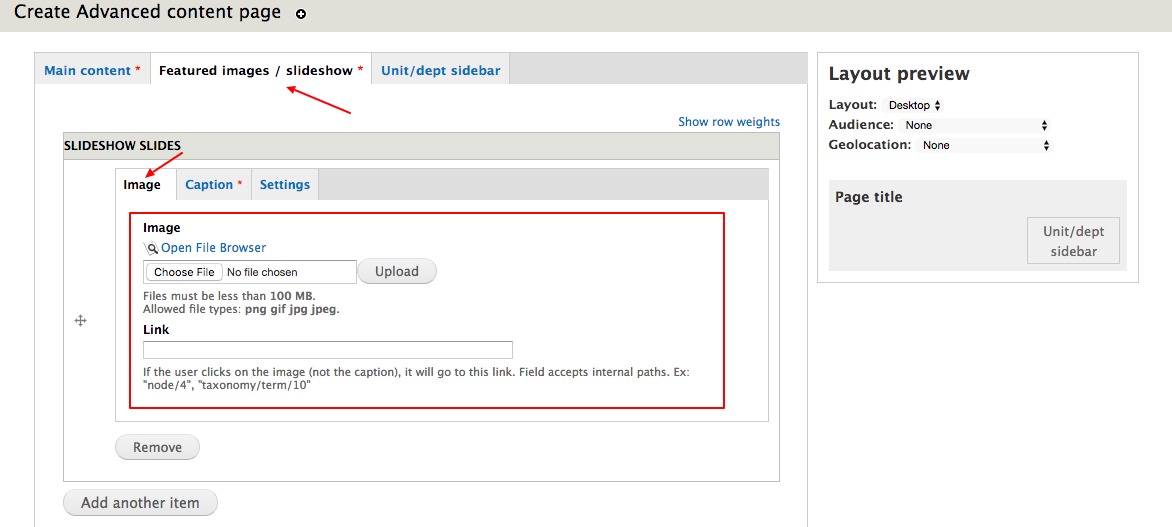
Featured Images / Slideshow
An unlimited number of slides can be uploaded to the slideshow (although, just one slide is perfectly fine and will be displayed just as a featured image at the top of the page). Each slide section has three tabs: Image, Caption, and Settings.
Image
An image can either be uploaded directly, or chosen via the File Browser. If a link is provided in the Link field, the slide will be linked to that URL.
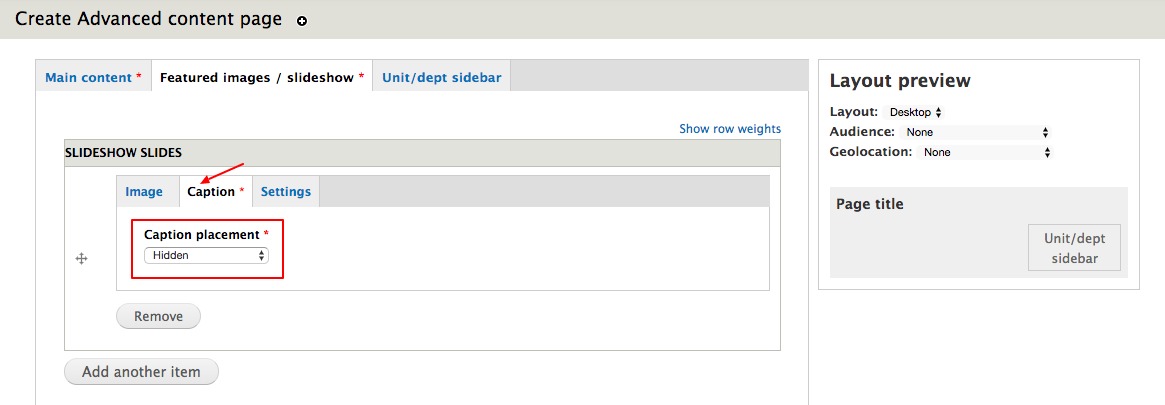
Caption
By default, Captions are hidden. They can be unhidden via the Caption placement dropdown menu. Once a placement has been selected, more options will appear to modify the caption. Caption width and style can be changed per slide via the Caption width and Caption style fields. The caption offers the standard title and content fields.
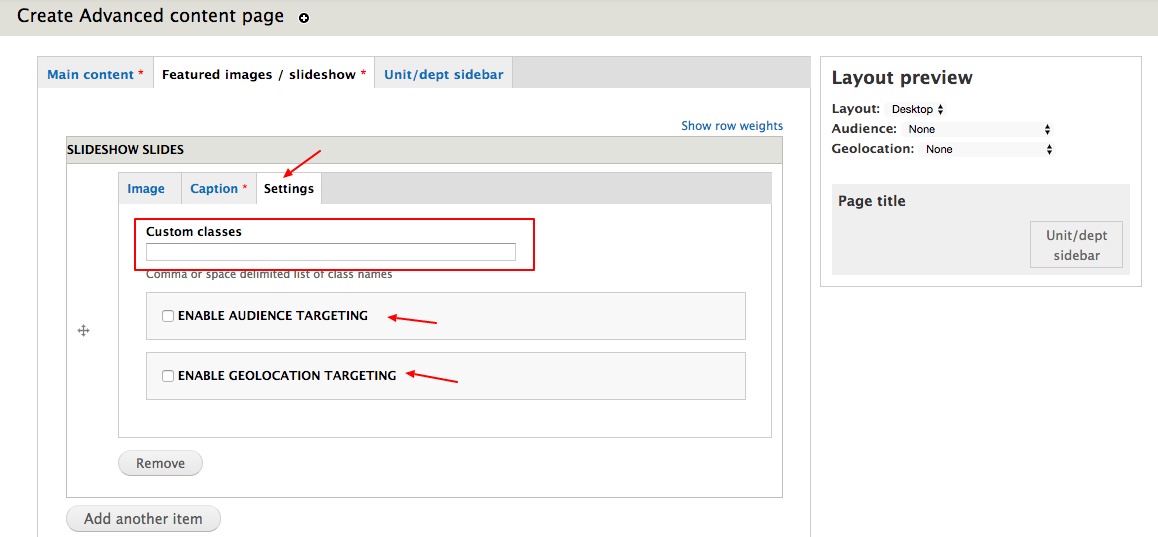
Settings
CSS classes can be added to the slide's html via the Custom classes field; best used for when multiple slides need to be styled a certain way.
Each slide offers user targeting, see 'Targeting' for more information.
NOTE: By default, a rendered version of each slide is cached in the database, but it can be disabled via the disable cache checkbox. For most cases, this shouldn't be used.
Unit/dept sidebar
An unlimited number of blocks can be added to the Unit/dept sidebar on the page via the Unit/dept sidebar area. Each block section has two tabs: Content and Settings.
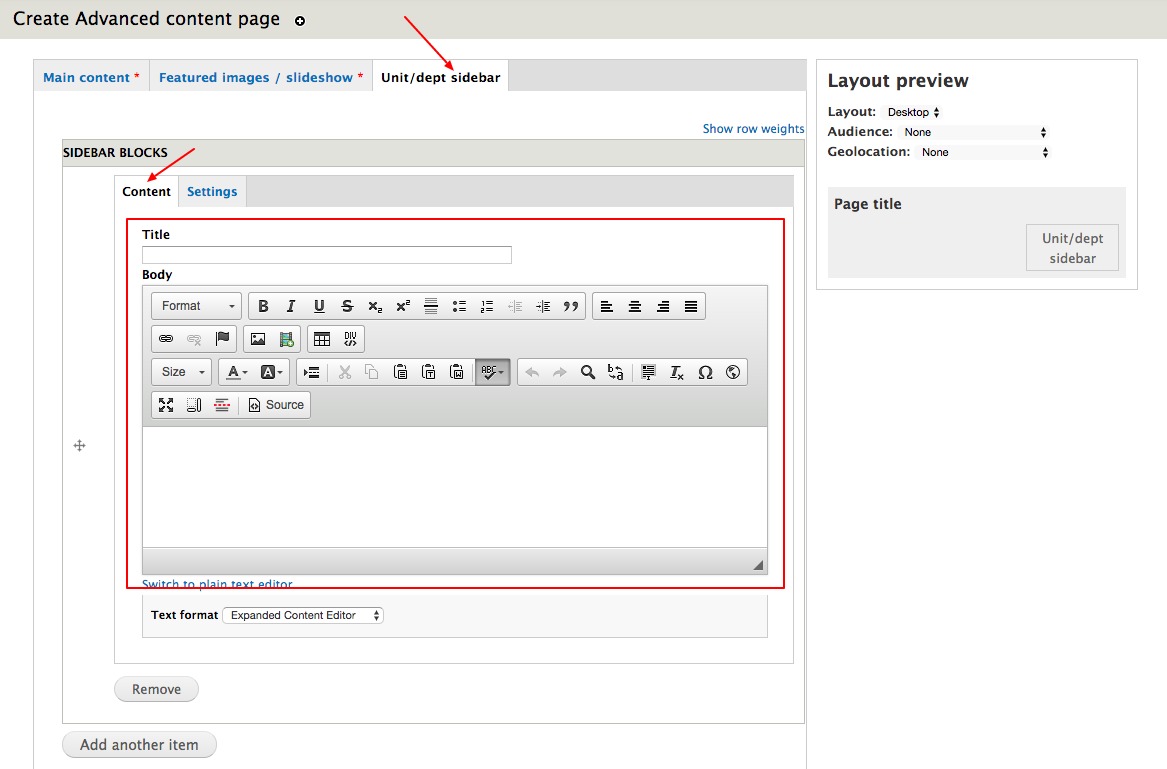
Content
The Content tab offers a Title and Body fields for the block. If a title isn't given, the title isn't displayed.
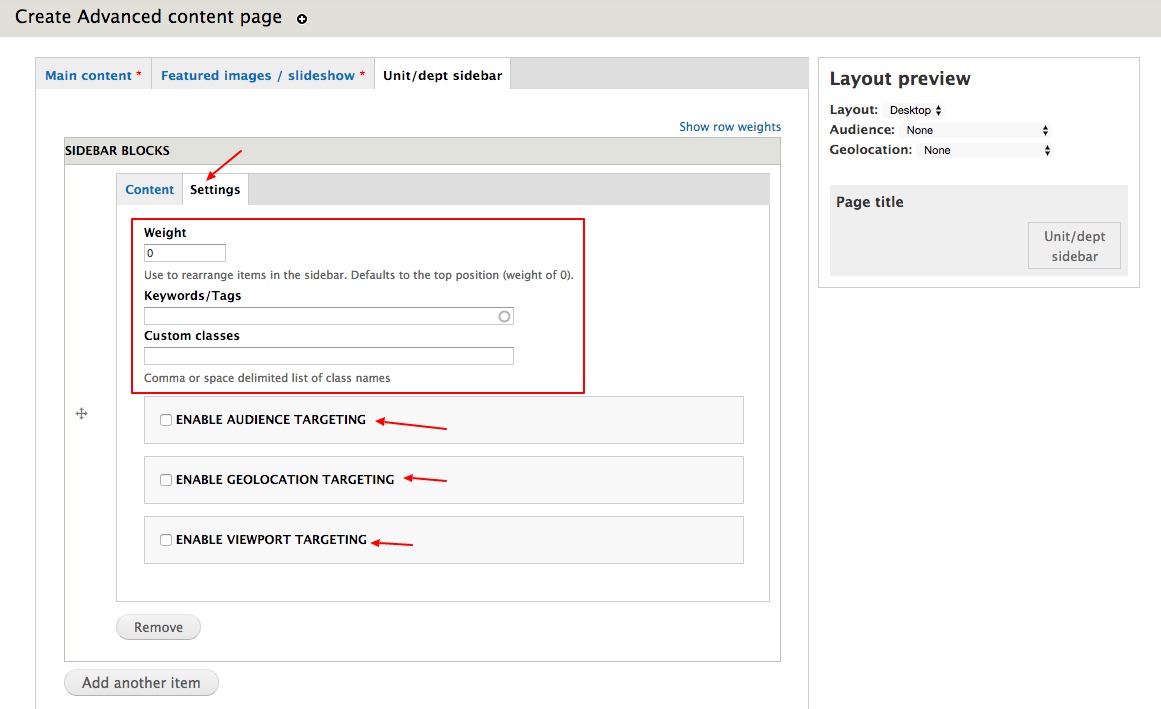
Settings
A Block can be moved up or down the Unit/dept sidebar by changing it's weight higher or lower than the other blocks The default top position is (usually) 0.
Each block can be tagged with associated keywords, good for cataloging content.
CSS classes can be added to the block's html via the Custom classes field; best used for when multiple blocks need to have themselves or similar inner items styled a certain way.
Each block offers user targeting, see 'Targeting' for more information.
NOTE: By default, a rendered version of each block is cached in the database, but it can be disabled via the disable cache checkbox. For most cases, this shouldn't be used.
Targeting
Targeting should be used to display certain content to users of a certain target audience, of a certain relocation, or who are viewing the page at a certain browser width (desktop, tablet, mobile, etc.).
Audience, Geolocation, and Viewport targeting are offered on items in all areas (other than slides, which do not offer viewport targeting).
Audience targeting
Audience targeting is universally disabled until a default audience is set.
To set a default audience, visit the KU Advanced Content Type settings page listed under the KU Settings area on a site's Configuration page.
The default audience is the audience used when a new visitor visits the website. They are then able to change the selected audience via the Audience selector block. Unless a default audience is selected, pages with Audience targeting enabled will not display that content.
To enable Audience targeting on an item, select the Enable Audience targeting on the settings tab, then select the appropriate audiences that the content applies to.
To add/edit/modify the audiences, see: Audience taxonomy.
Configure the Audience Selector block
The KU Template - Audience selector block is disabled by default but can be moved to a region and further configured via the site's blocks page. We suggest moving the block to the Branding region, where the selector will automatically replace the site's subtitle.
The block can also be included in content areas with a block token:
[block:ku_content_type_advanced=audience_selector]
Displaying audience-specific content on non-Advanced content pages
An audience attribute is added to the body tag on each page. You can hide/show/modify items on non-Advanced content pages through CSS using the body[audience="AUDIENCEIDHERE"] CSS tag.
Example CSS to show a block (#block-4 in this case) for a certain audience id (214 in this case) but hide for others:
body #block-4 {display: none;}
body[audience="214"] #block-4 {display: block;}
Geolocation targeting
To enable Geolocation targeting on an item, select the Enable Geolocation targeting on the settings tab, then select the appropriate geolocations that the content applies to.
To add/edit/modify the available geolocations, see: Geolocation taxonomy.
Viewport targeting
Viewport targeting hides content when the page is displayed at a certain browser width. This can best be used to determine if different content should be shown for different viewing experiences (like hiding a gigantic table that wouldn't be very usable for mobile users).
Taxonomy
Audiences and geolocations are saved as taxonomy vocabularies and can be added/removed/modified via their taxonomy respective pages.
Audience taxonomy
Each audience is made public (listed to users as a selectable option) by default. To make hidden, uncheck the Public checkbox,
Geolocation taxonomy
The geolocation term's name is mainly for administrative purposes, try to name items appropriately so that they make sense to others (notice other geolocation term names on the Geolocations' taxonomy vocabulary page). An item can be geolocated by: area code, city & state, currency, IP address, latitude/longitude area, state/territory, and nation. Make sure that items are spelled correctly and that latitude longitude points are in decimal format (ex: the center of the Campanile is located at latitude 38.959986 longitude -95.246925). For best results, try to use the city/state, state, or latitude/longitude area options.
Try to keep the geolocation terms' placement on the Geolocations taxonomy vocabulary page logical. Their placement isn't necessary for the geolocation targeting to function properly, but it does make everything more orderly and accessible so it is encouraged (notice how Kansas related locations are listed under Kansas).
Keywords/Tags taxonomy
A taxonomy specifically for the Advanced content type called 'Keywords/Tags' lists all items that use the Keywords/Tags taxonomy fields on the associated sections on the Advanced content page editor page.
Layout Preview
Use layout preview to view how the page will be displayed under certain conditions.
Layout
Desktop view is selected by default. After all page content is added, try changing the layout selection and see how content will be arranged/modified for different viewing sizes.
Audience
By default, no audience is selected. Notice that when Audience is enabled on a section, it will disappear from the layout preview unless it's audience or 'All' is selected from the audience drop down.
Geolocation
By default, no geolocation is selected. Notice that when Geolocation is enabled on a section, it will disappear from the layout preview unless it's geolocation or 'All' is selected from the geolocation drop down.